 |
| Picture Wall - Lisa's '10 visit |
 |
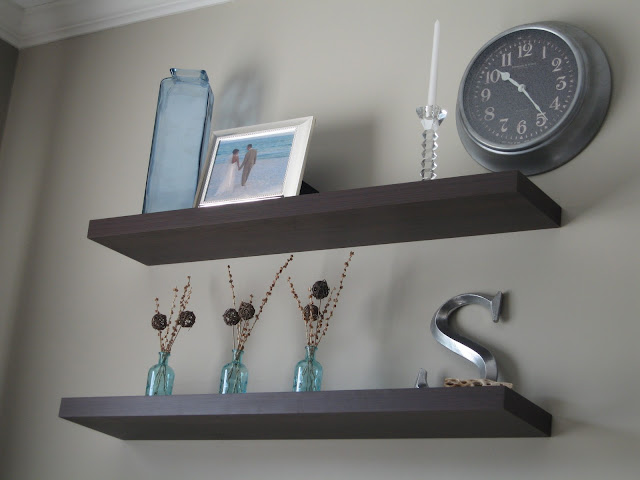
| Floating shelves & accessories - Lisa's '10 visit |
This time when she came, I was prepared with a handy list of inspiration from my favorite website, Pinterest. One of the projects I really wanted to tackle included the following:
 |
| Painted curtains |
I saw these curtains and couldn't believe when I clicked on the link that she had actually PAINTED them. In her blog, she uses some cheaper Ikea curtains, but I actually got some velvet white drapes from Lowe's (would have been even cheaper if I had found some good drop cloth - I've seen some great curtains made out of drop cloth) but I wanted them to be a little thicker and make sure they blocked most of the light. After a few quick measurements, we decided we wanted 10" stripes, knowing that the bottom stripe would be about an 1" or 2" wider (which was okay with me). We moved the dining room furniture, laid out a drop cloth, and started measuring!
 |
| Blank canvas! |
I didn't feel like marking any measurements on the curtains because I was lazy wasn't sure how it was going to come off. So instead, we marked 10" with a tiny piece of tape on each side and in the middle, then laid one long strip across so it lined up with all three.
 |
| Marking our tape pieces |
From there, we just rolled on my wall color with a normal paint roller - be warned, this soaks up a LOT of paint. We only bought one quart and definitely had to squeeze out the last few stripes, even though there were only about 8 stripes total. I probably would have bought a gallon next time to be safe. Plus, I don't think it would hurt to do 2 coats, but more on that later.
 |
| Remove the tape while still wet - no bleeding! |
 |
| Coolest spray paint ever...I see why people are obsessed |
And now, the finished product...
Not too shabby! Word to the wise on this one though - I didn't read all the way through the blogger's post. When the paint started to dry, there were some spots that soaked in a little more than other and Lisa & I went back and touched them up. Those touch-ups didn't dry uniformly with the rolled on paint, so I'd caution against doing this - probably just roll on a second coat. A few people have asked if they're "crunchy" - and since these are velvet, they weren't exactly the blowing in the wind to begin with. If these are going in a high traffic area or you have kids that might play with them, you might be disappointed, but for my purposes I thought they're just fine. The dark color actually looks a little like suede in person.
Hope you're moved to tackle some Pinterest projects soon...stay tuned for the other 2 projects we tackled this weekend!


No comments:
Post a Comment